Horologic build guide

Build your own automatic watch

This guide takes you through the complete Horologic assembly process, from preparing the movement and fitting the dial and hands to casing the watch and attaching the strap or bracelet. Follow the eight steps in order and use the accompanying videos as you build.

The mechanical movement arrives fully assembled and the crown stem is already cut to the correct length. All the components, tools and step-by-step guidance you need are included. No previous watchmaking experience is required.

Before you begin

  • Work on a clean, well-lit surface
  • Keep the movement, dial and hands protected from dust
  • Use the supplied finger cots when handling visible components
  • Take your time, especially when fitting the hands
  • Follow the steps and videos in order
Not building yet? Choose your watch →

Step 1

Know your parts and tools

Lay out everything you need and familiarise yourself with the components and tools before starting the build.

Before beginning, work on a clean, well-lit surface with enough room to keep the components organised.

Check that you can identify the main watch components:

  • NH35 automatic movement
  • Dial
  • Hour, minute and seconds hands
  • Watch case
  • Crown and pre-cut stem
  • Strap or bracelet

Also familiarise yourself with the supplied watchmaking tools, including the tweezers, hand-setting tool, loupe, watch cushion or movement support, spring-bar tool, finger cots and bracelet/link tools where applicable.

Keep the movement, dial and hands protected from dust whenever you are not actively working with them. Wear the finger cots when handling watch components to avoid fingerprints and oils.

The video shows the Sportsman and earlier Horologic packaging. Your watch design and packaging may look different, but the tools and core assembly process remain the same.

Step 2

Fit the crown and stem

Attach the watch crown to the pre-cut movement stem so it is ready for the later casing step.

Main instructions

  1. Remove the watch crown from the case and place it somewhere safe.
  2. With the NH35 movement securely supported, locate the small stem-release lever beside the point where the stem enters the movement.
  3. Gently press the release lever while carefully pulling the existing stem out of the movement. Do not use excessive force.
  4. Hold the stem carefully with the tweezers and screw the supplied watch crown onto the threaded end of the stem until it is secure. Do not overtighten it.
  5. Reinsert the crown and stem into the movement carefully until it seats correctly.

Important: The stem supplied with your Horologic watch has already been cut to the correct length. Do not cut, shorten or file the stem.

The video demonstrates the process using the Sportsman. The crown and case design may differ slightly between models, but the process is the same.

Step 3

Fit the dial

Secure the dial correctly to the movement and make sure it sits flat and properly aligned.

Main instructions

Place the NH35 movement securely in the movement holder.

Take the dial by its edges and align the dial feet with the corresponding holes in the movement. The 3 o’clock position and date window should align with the crown-stem position.

Carefully lower the dial straight onto the movement.

Once correctly aligned, apply gentle, even pressure near the dial feet until the dial is fully seated. It should sit flat against the movement.

Do not force the dial into position and avoid pressing unnecessarily on the visible dial surface.

Before moving on to the hands, pull the crown to the time-setting position and slowly turn it forward until you see the date begin to change. This establishes the midnight position needed for correct hand alignment in the next step.

Optional note

Handle the dial by its edges whenever possible and use finger cots to avoid fingerprints or marks.

Step 4

Fit the hands

Install and align the hour, minute and seconds hands carefully so they move freely and display the correct time.

Prepare the movement

Make sure the movement is securely supported and that you established the midnight position in the previous step by turning the crown forward until the date begins to change.

Hour hand

Carefully place the hour hand onto the central post pointing exactly at 12 o’clock.

Using the black side of the hand-setting tool, press the hour hand down gently and evenly until it is firmly seated.

Use only moderate pressure — roughly the amount you would use when writing with a pen.

Minute hand

Place the minute hand onto the central post, also pointing exactly at 12 o’clock.

Use the black side of the hand-setting tool to press it carefully into position.

Look closely from the side and make sure the minute hand sits parallel to the hour hand without touching it.

Seconds hand

Use the loupe to clearly identify the very small pin at the centre of the movement.

Carefully position the seconds hand directly over this pin.

Once correctly positioned, use the white side of the hand-setting tool to press the seconds hand down gently.

Do not force it. If it does not seat correctly, reposition it before applying more pressure.

Check the hands

Pull the crown into the time-setting position and slowly rotate the hands forward through a full cycle.

Check that:

  • all three hands move correctly
  • the hands do not touch each other
  • none of the hands touch the dial
  • the hour and minute hands remain correctly aligned
  • the date changes around midnight

If anything touches or catches, stop and correct the hand alignment before continuing.

Want a closer look at this step?
Read our detailed guide to fitting watch hands on an NH35 movement.
Step 5

Remove the crown stem

Your dial and hands are now installed, so handle the movement carefully and avoid placing it face-down.

Support the movement securely with the dial and hands facing upward.

Locate the small stem-release lever beside the point where the crown stem enters the NH35 movement.

Gently press the release lever while carefully pulling the crown and stem straight out of the movement.

Only light pressure should be required. Do not force the stem or press on other parts of the movement.

Once removed, place the crown and stem somewhere safe. You will reinstall it after the movement has been placed inside the case.

Avoid touching or putting pressure on the hands while handling the movement.

Need help finding the release point?
See our close-up guide to removing the crown stem from an NH35 movement.

Keep the movement dial-side up during this step. Pressure on the hands can bend them or disturb the alignment you established in the previous step.

Step 6

Open the case back

Remove the case back so the completed movement can be installed inside the watch case.

  1. Place the watch case on a clean, soft surface.
  2. Hold the case securely and use the grip from the supplied finger cots to turn the case back counter-clockwise.
  3. Once it begins to loosen, continue unscrewing it carefully until the case back can be removed.
  4. Place the case back somewhere clean and safe.
  5. Check that the case-back gasket remains correctly seated and has not become twisted or displaced.
  6. Avoid touching the inside of the crystal and keep the open case protected from dust while you prepare to install the movement.

Note: Keep the inside of the case and crystal as clean as possible. Any dust visible now may also be visible once the watch has been sealed.

Step 7

Case the movement

Make sure the inside of the case and crystal are clean and free from visible dust before installing the movement.

Keep the completed movement securely supported on the watch cushion with the dial and hands facing upward.

Carefully lower the watch case over the movement rather than pressing the movement down into the case. Align the crown opening in the case with the 3 o’clock position and date window.

Make sure the dial sits correctly inside the case and is evenly positioned.

Using the watch cushion for support, carefully turn the watch over so you can access the movement from the back without placing pressure on the hands or crystal.

Take the crown and pre-cut stem from Step 5 and carefully insert the stem through the case and into the NH35 movement.

Push it gently until it seats correctly. Do not force it.

Check the crown operation before closing the watch:

  • the crown can be operated normally
  • the hands can be adjusted
  • the date mechanism works correctly
  • the stem remains securely seated

Make sure the case-back gasket is correctly positioned and has not become twisted or displaced.

Place the case back onto the case and begin threading it clockwise by hand. Make sure the threads engage smoothly before tightening.

Use the grip from the finger cots to tighten the case back securely.

Do not cross-thread or excessively force the case back.

Before sealing the case, take a final look through the crystal for dust, fingerprints or debris. It is much easier to correct this now than after the case back has been tightened.

Step 8

Attach the strap or bracelet

Finish your watch by fitting your chosen strap or bracelet and, if necessary, adjusting the bracelet to your wrist.

Strap

  • Turn the completed watch face-down on a clean, soft surface so the crystal and case are protected.
  • Insert one end of the spring bar into the hole on the inside of the first lug.
  • Position the other end of the spring bar between the opposite lug.
  • Using the spring-bar tool, carefully compress the spring bar and guide it between the lugs.
  • Slowly release the spring bar until you feel it engage with the lug hole.
  • Gently pull on the strap to make sure the spring bar is securely seated.
  • Repeat the process on the other side of the watch.
  • Before wearing the watch, check both sides again to make sure both spring bars are fully engaged.

Note: Take care with the spring-bar tool around the case. Work slowly to avoid scratching the lugs.

Stainless-steel bracelet

  • Turn the watch face-down on a clean, soft surface.
  • Fit the bracelet between the lugs using the supplied spring bars.
  • Insert one end of the spring bar into the first lug hole.
  • Use the spring-bar tool to compress the opposite end and carefully guide it between the lugs.
  • Release it gently until the spring bar engages securely.
  • Repeat on the other side.
  • Gently pull on both bracelet ends to confirm that the spring bars are fully seated.

Adjusting the bracelet

  • Try the watch on your wrist to determine how many links need to be removed.
  • Look at the underside of the bracelet for the arrows showing the direction in which removable link pins should be pushed out.
  • Use the supplied bracelet/link-removal tool to carefully push the required pins out in the indicated direction.
  • Remove links as needed.
  • Where possible, remove links from both sides of the clasp so the clasp remains reasonably centred underneath your wrist.
  • Reconnect the bracelet and securely reinstall the link pins.
  • Check that every pin sits properly in the bracelet before wearing the watch.

Note: Do not force a link pin. Make sure you are working with a removable link and following the direction indicated on the bracelet.

BUILD COMPLETE

You made a watch.

Take a moment to enjoy it. What started as a movement, dial, hands and a collection of components is now a mechanical watch you assembled yourself.

Set the correct time and date, make sure the crown is fully pushed in, and give the strap or bracelet one final check. Then put it on.

Every time you wear it, you’ll know exactly what went into it.

  • Time and date set correctly
  • Crown fully pushed in
  • Hands moving freely
  • Case back securely closed
  • Strap or bracelet securely attached

BUILD ONE YOURSELF

Ready to make your own?

Horologic makes mechanical watch assembly accessible at home. Choose your watch, receive the components, tools and step-by-step guidance, and assemble a real automatic watch by hand.

The mechanical movement arrives assembled and the crown stem is already cut to the correct length. You fit the dial and hands, case the movement and finish the watch with its strap or bracelet. No previous watchmaking experience is required.

Choose your watch

Designed in St-Prex, Switzerland · Shipped worldwide

Need a Little Extra Help?

Most builders complete their watch successfully using the step-by-step guide. Small components can occasionally be damaged, however, and sometimes it is easier to let us complete the final steps. Support remains available throughout every Horologic build.

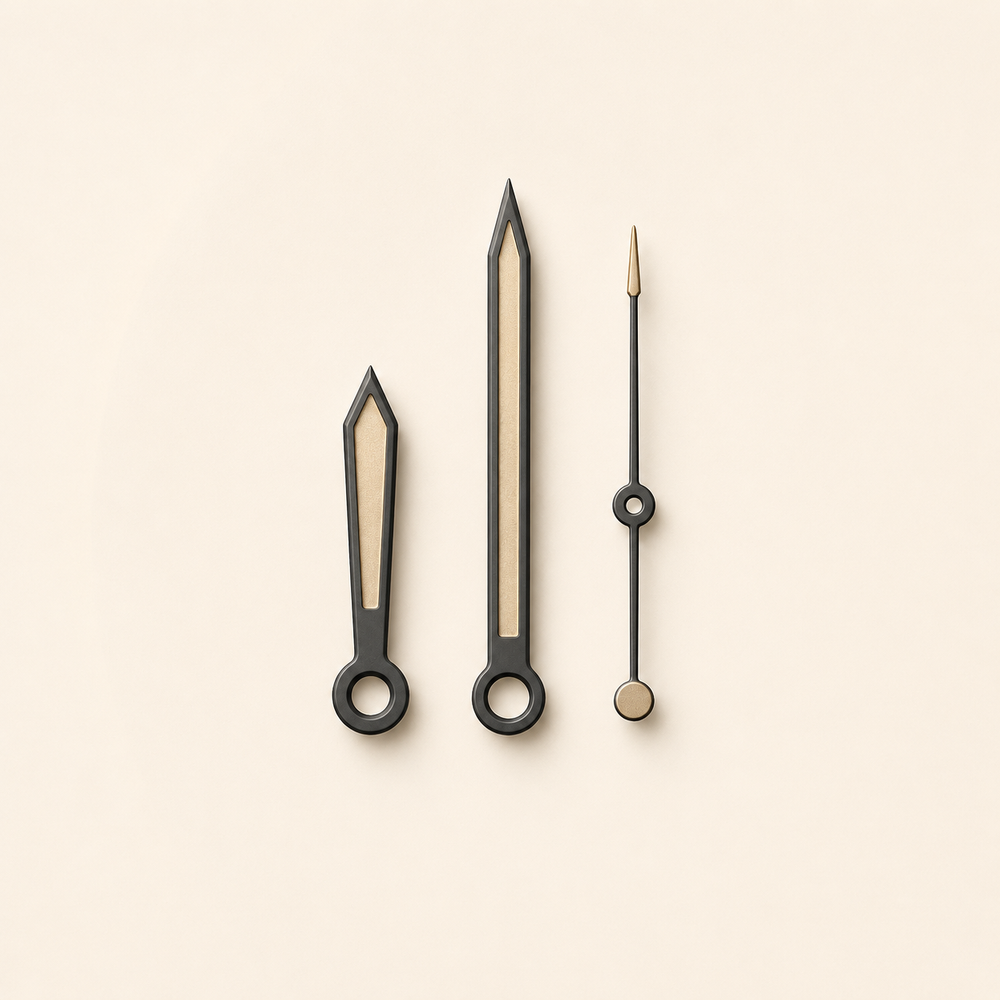
Replacement Hand Set

Replacement Hand Set

CHF 30

Accidentally bent or damaged the hands during assembly? Order a complete matching set for your Horologic model.

Order Replacement Hands
Watch Completion Service

Watch Completion Service

CHF 100

If you are unable to finish your watch, send the unfinished build back to Horologic in Switzerland. We will inspect it, complete the assembly and return the finished watch to you.

Have Horologic Finish My Watch
Did Something Arrive Damaged, Missing or Incorrect?

Did Something Arrive Damaged, Missing or Incorrect?

Please do not purchase a replacement. Contact us with your order number and a clear photograph, and we will take care of it.

There is no charge for replacing an item that arrived damaged, missing or incorrect.

Contact Support